Canning Made Easy
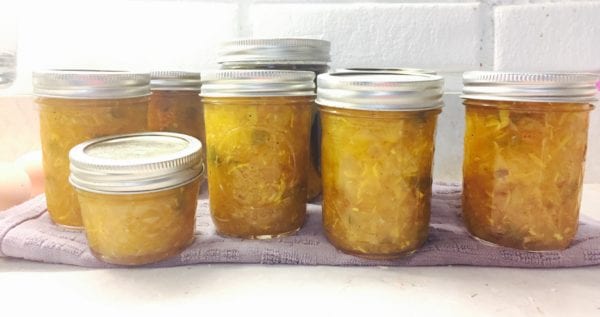
A line of delicious treats that have been water bath canned.
How to do boiling-water processing or water bath canning
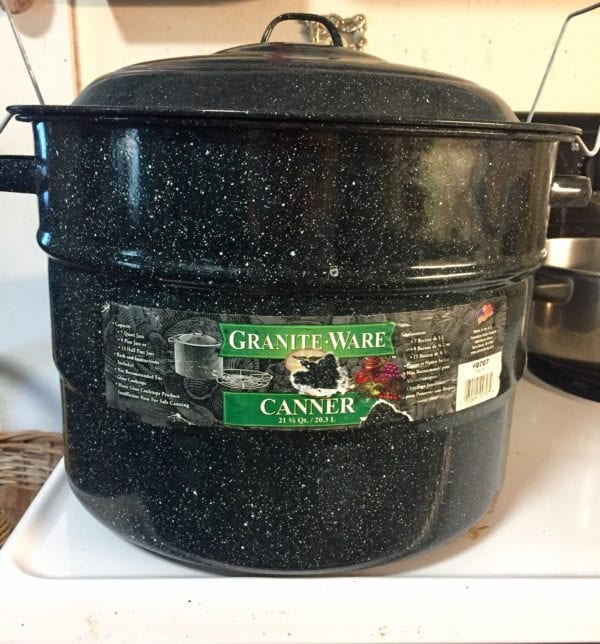
If you’ve never preserved fruits and vegetables by canning, this is a really easy way to get started. You just need a boiling-water canner, which is a large pot with a lid and a rack to help you manage those hot jars. You can also purchase a jar lifter which makes things easier when trying to get the hot jars out of the boiling water. I will tell you that when I started, I used a large and lid that I already had. I also drained the water out when I was done, and used a towel to grab the jars out. As long as your jars can be covered by a 1” of water, you are good to go. You will need glass canning jars, lids, and rings too. A canning funnel is especially helpful to keep food and juice from spilling all over the sides of the jars. The lids are a one-time use for processing and need to be replaced each time. As long as the jars and rings look good and are clean, those can be reused for processing.
All set to start canning.
This is really important. No… you have to read this part.
Can everything be boiling-water processed? No. Only use recipes that call specifically for this method of canning or you will risk bacteria growth and spoilage in the food. Only foods that are naturally high in acid can be processed in this way. The recipes you use should identify whether to use a boiling-water or pressure cooker method.
We have some recipes under our recipe tab that are perfect for boiling-water processing, if you’d like to try. The Ball Blue Book Guide to Preserving is also a great resource.
How to (be sure to look at the pictures below too):
-
- Fill your pot with enough water to cover the size jars you will use, by 1”. Bring water to a rolling boil.
-
- Prepare your recipe as directed. The food/liquid you put into the jars will be hot. Prepare that as your pot is heating up.
-
- Make sure your jars are clean and hot.
-
- Pack your food and liquid into prepared jars as directed.
-
- Add a lid and screw-top that have been washed and dried in warm, soapy water.
-
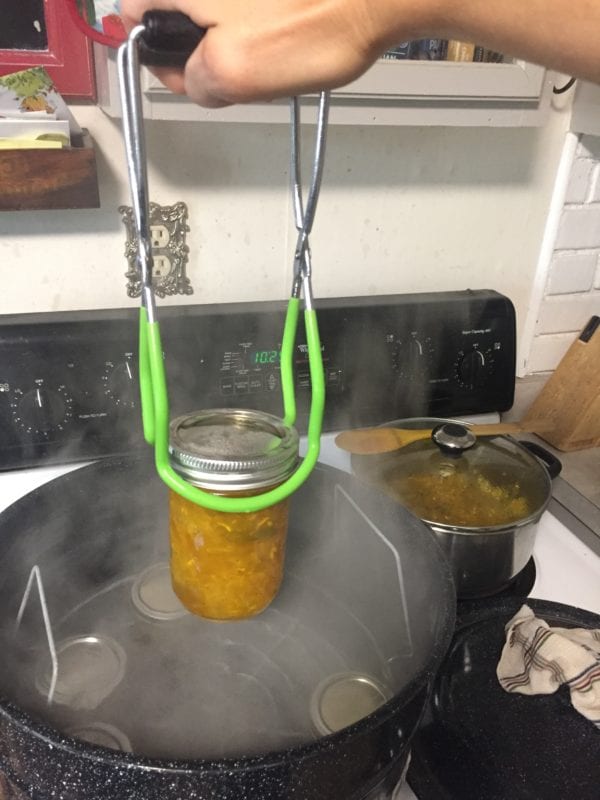
- Place jars on raised pot rack over boiling water. Repeat until all jars are ready to take the plunge.
-
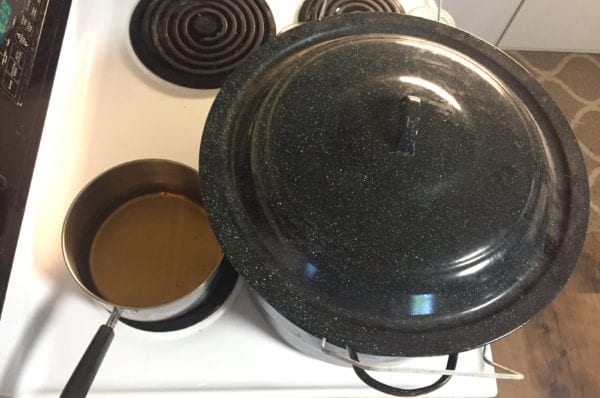
- Lower rack carefully to the bottom of the pot. Put the lid on the pot. Begin the processing time as the recipe states- when the water is at a rolling-boil.
- When the time is up, lift the rack and remove hot jars to a towel, in a protected space. The jars will have to sit however long the recipe states, before opening. Jar lids should “ping” or seal during this time. The raised bump in the lid should sink on it’s own for a proper seal. Any jars that did not seal can be stored in the refrigerator for immediate use.
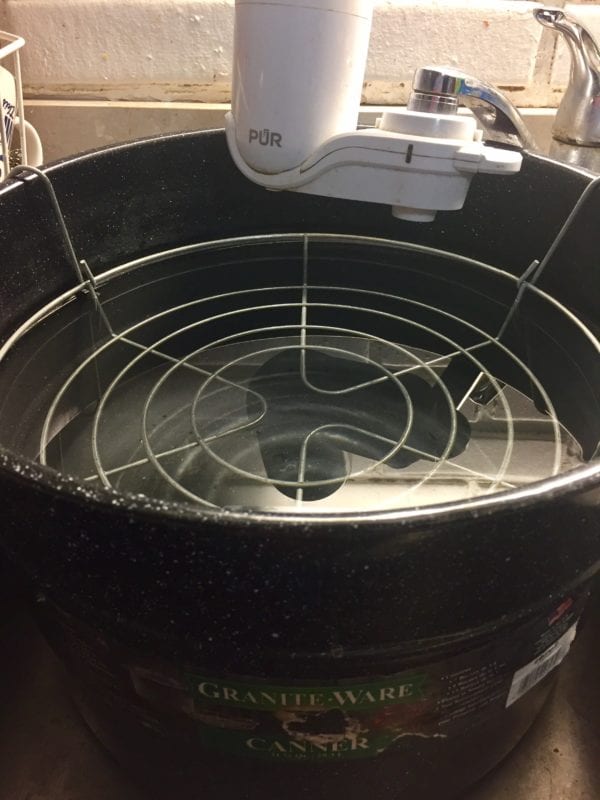
Fill your pot with enough water to cover the size jars you will use, by 1”. Bring water to a rolling boil.
Prepare your recipe as directed. The food/liquid you put into the jars will be hot. Prepare that as your pot is heating up.

Getting our canning tools ready.
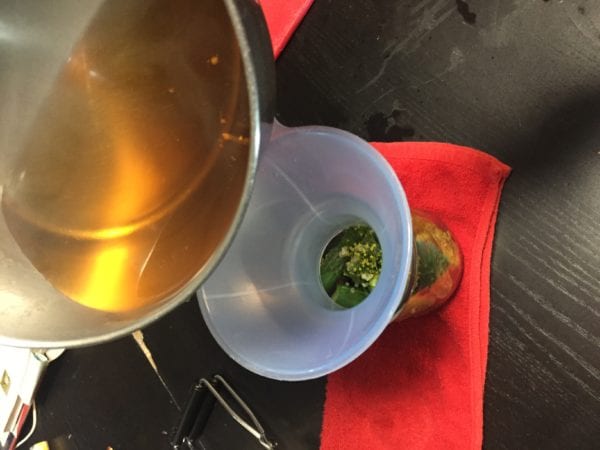
Pack your food and liquid into prepared jars as directed.
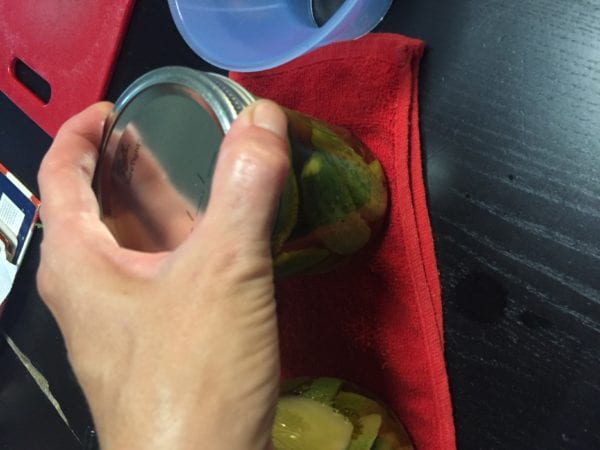
Lid on, finger tight. Ready to can..
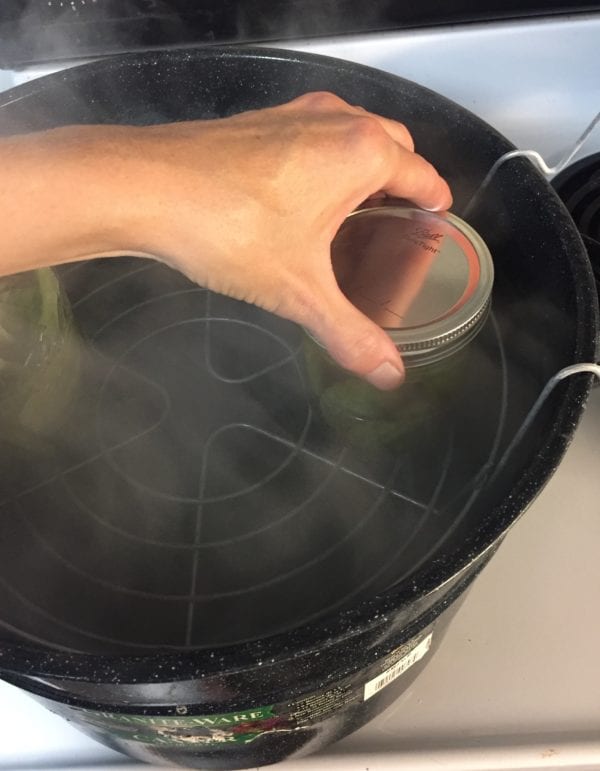
Place jars on raised pot rack over boiling water. Repeat until all jars are ready to take the plunge.
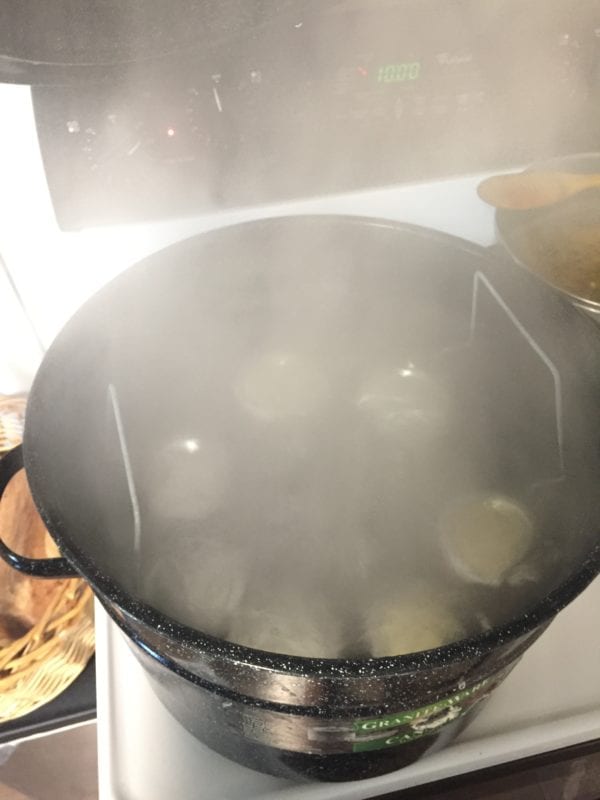
Lower rack carefully to the bottom of the pot. Begin the processing time as the recipe states- when the water is at a rolling-boil.
When the time is up, lift the rack and remove hot jars to a towel, in a protected space. The jars will have to sit however long the recipe states, before opening. Jar lids should “ping” or seal during this time. The raised bump in the lid should sink on it’s own for a proper seal. Any jars that did not seal can be stored in the refrigerator for immediate use.