Pumpkin Planting Experiment
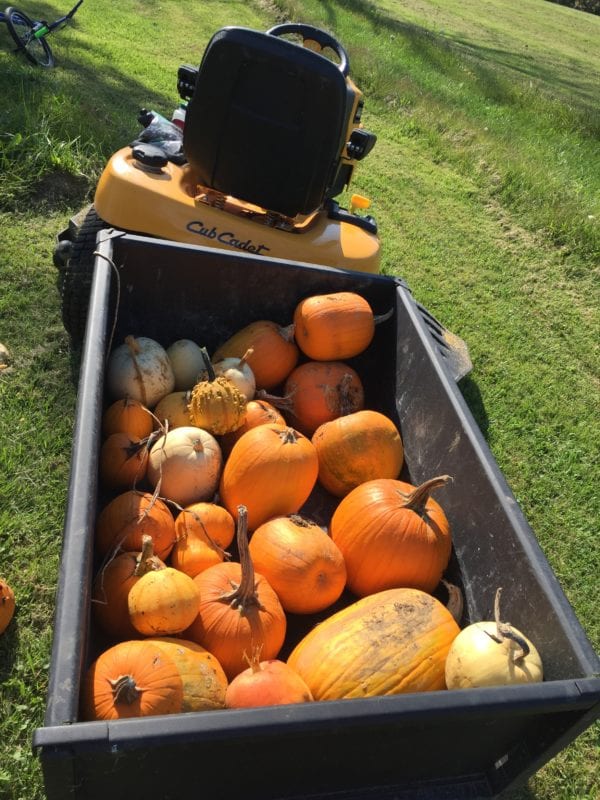
Our pumpkin harvest in 2017 wasn’t as big as we had hoped but not a bad first effort.
Few things make me smile the way a pumpkin makes me smile.
I know, it sounds weird, but I just love pumpkins and have this dream of someday growing a state fair champion pumpkin. In the meantime, we’re doing our best to have a real pumpkin patch this year and are experimenting with a way to grow them without tilling up an entire acre or two.
Learning by living through our first year’s effort.
Our 2017 pumpkin success came from an impromptu patch.
Last year we got about 175 plants in the ground. It was our first real summer on the property and so I did some hunting as to where best to plant. All but about two dozen of the plants failed to mature enough to grow gourds. In fact, the only real success we had was in an area that we had intended to grow sweet corn. The corn failed when a pair of crows decided to steal our seeds the morning after planting. We had tilled that area and hoed rows for the corn. When those nasty crows were done robbing us, Amy and my sister, Denise, decided to throw in some pumpkin seeds. We also had some success with a handful of the approximately 60 we planted on the dam of our pond even though those plants never got very big.
So where did our first effort go wrong?
The biggest disappointment we had last year were two rows of about 20 plants each that I experimented with. This area of property is one long sloping hill and we literally do nothing on that portion of our land. Our trusty old neighbor, Bob, who once owned the land, told us that he tried growing corn on that plot and never had luck. The soil has a lot of clay and there are a lot of large stones in the ground. The pumpkins I planted there in 2017 only grew to just less than knee high and, although most flowered, none produced any fruit. I thought my failure was the result of starting those plants in peat pods and allowing them to get too stringy before putting them in the soil. I also cut away only enough of the sod to place the peat pod in the ground and made no other effort to work the soil. From time to time I mowed as close as I could get to the plants without damaging them. Whether the problems was something I did, the grass competing with the plants, or something else, I wasn’t sure. But the failure made me more determined to get it right this year.
Orange means green.
There are a couple of reasons why growing these pumpkins is such a big deal to me. First, I just love pumpkins. Second, I figure that we can make $3 to $5 per pumpkin for Jack-O-Lanterns and more for Big Max, blue pumpkins and white pumpkins. That extra income would be fantastic just before Christmas and we could really put it to good use by investing in more plants for the orchard, or helping with the cost of gas to heat our home in the winter (last winter was awful… we really, really took a financial hit).
Developing a new plan for a new place.
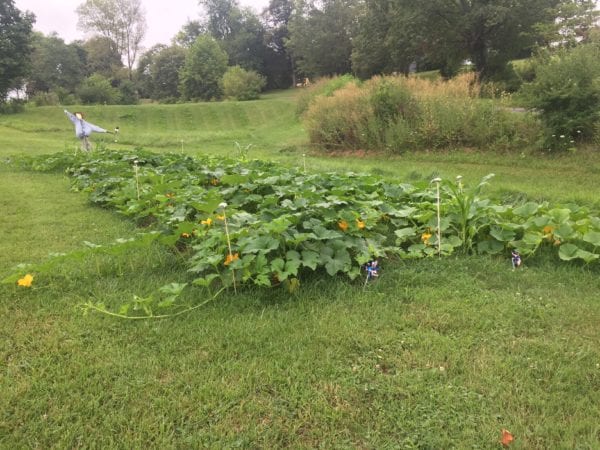
This year, I developed a plan to take advantage of that hill and decided not to go back and plant in the successful patch from last year. Part of the reason to turn my back on the old patch was that I had done a good job composting that area in the fall and, by spring, we had some volunteer pumpkin plants sprouting. I figured that if I just let those volunteers go we may end up with a nice surprise. So far we have a handful of good sized pumpkins growing in that area and they’re already turning orange… which is way too soon but a nice surprise.
Compost, milk jugs and candy cane decorated sticks.
My experiment on the sloped hill includes (scroll below for pics of the process): compost we had shipped in, empty gallon milk jugs, a variety of seeds and a grid marked with sticks painted like candy canes (those sticks are tree trimmings I use to hang Christmas lights off the ground along our 1/10th of a mile driveway. Last year I had 4,000 lights on the drive alone… it’s quite a sight).
I measured a grid marking spots 6 feet apart along a line down the north side of the slope and pounding in the candy cane colored sticks to mark that part of the grid. Then I did the same on the east side of the slope. This gave me starting points to connect from the north and the east, coordinates by which to plant.
Instead of planting seeds in peat pods this year, I decided to work the soil and start my pumpkins in the ground. At each spot on my grid, I stuck my shovel about ½ way into the ground, removing the sod with the soil attached. Then I grabbed an empty milk jug (having cut off the top so I could use it as a scoop) and filled it with fresh compost. I sprinkled a handful of compost into the hole. Then, I took the piece of sod and soil and working the sod to remove the soil that was attached. Loosening the soil, I sprinkled it back into the hole. I then took more compost and worked the compost and soil together. Atop this mixture I poured the rest of the compost from the milk carton and mounded it about the size of half of a basketball. Using two fingers, I created a crater atop my mound (it resembled a science fair volcano). Inside the crater I set three pumpkin seeds on their long edge. We’ve seen experts talk about how the plants germinate more easily being planted on their edge. At this point, I closed the crater and patted down the mound.
At this point, Mother Nature helped us, almost too much. As I was planting my first row, the skies opened up and it began to rain… hard. I stuck it out getting soaked, until the lightning and thunder arrived. Over the next few days I managed to plant 105 mounds before my day job required I go out of town for several days. Upon returning, I hit a few rows each day with the help of our 11 year old daughter, Josie. My biggest success planting came when our 13 year old son, Mack, decided he wanted to help. In one night we managed to plant 90! We now have 225 pumpkin plants in the ground (not counting the volunteers and pie pumpkins in our garden that were planted for the Homegrown Thanksgiving Challenge).
Only a handful of the 225 plants did not germinate nearly immediately. I jumped in and replanted the half-dozen or so that showed no signs of growth. Some of them appeared to have been impacted by animals. All of those I re-planted have started to grow on the second attempt!

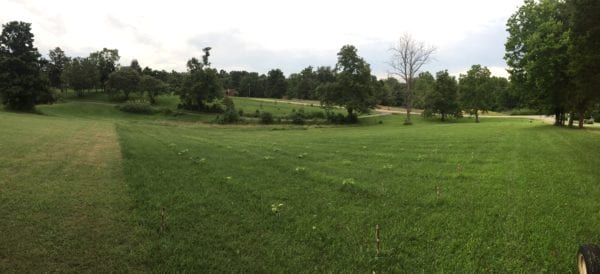
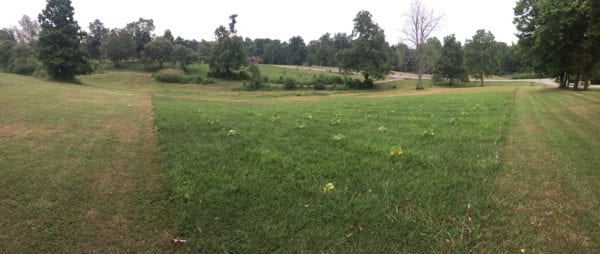
Panoramic taken on first day of planting
Panoramic after 3 weeks.
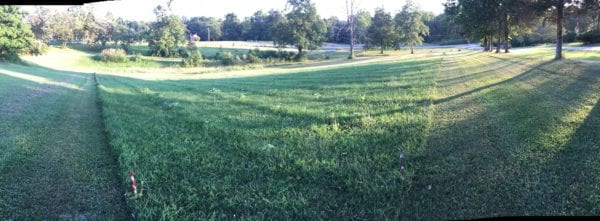
Panoramic taken after 4 weeks.
Panoramic taken through 6 weeks of growth.
I’ve captured pictures of the progression and now, nearly 5 weeks into the process, there is progress. The 5 week old plants are just less than knee high with several forming big blossoms. Some look to be attempting to vine out but most do not appear ready to form vines. The plants put into the ground last look to be about on the same schedule as the older plants. Looking at the pictures It’s easier to see the growth than just eyeballing it every day. Still, I fear that the plants are not growing fast enough and will not mature and vine out enough to grow fruit. We’ll keep our fingers crossed and keep you updated. If you have ideas on how I can perfect this pumpkin patch, PLEASE DROP ME A LINE.
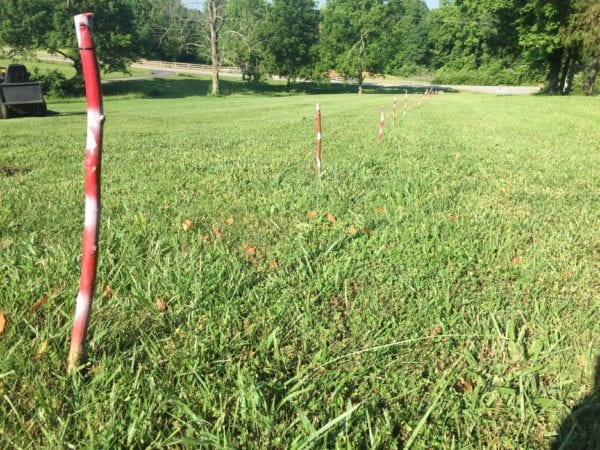
Grid markers in place at the new pumpkin patch.
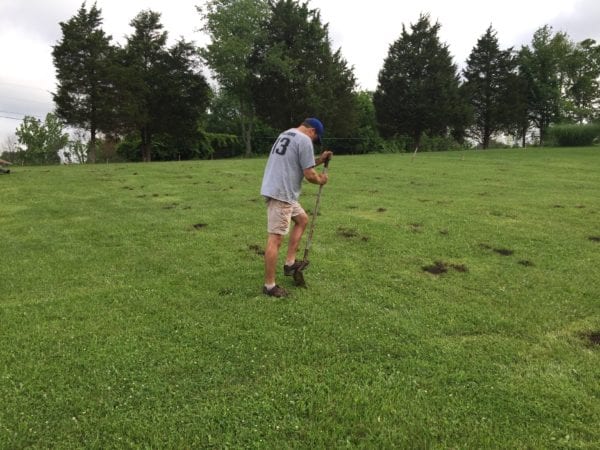
Starting to dig along the grid
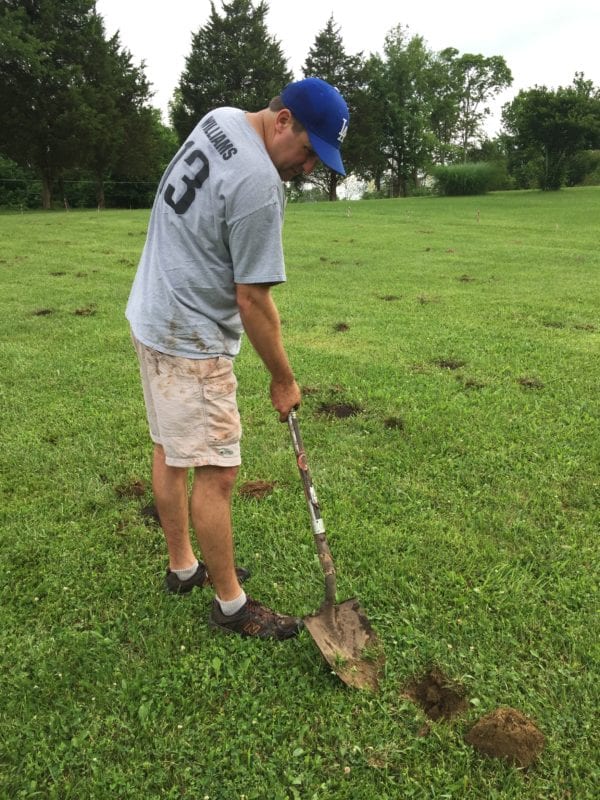
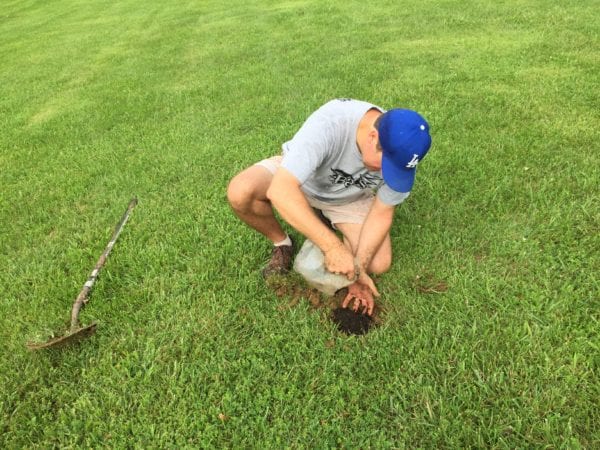
I stuck my shovel about ½ way into the ground, removing the sod with the soil attached.
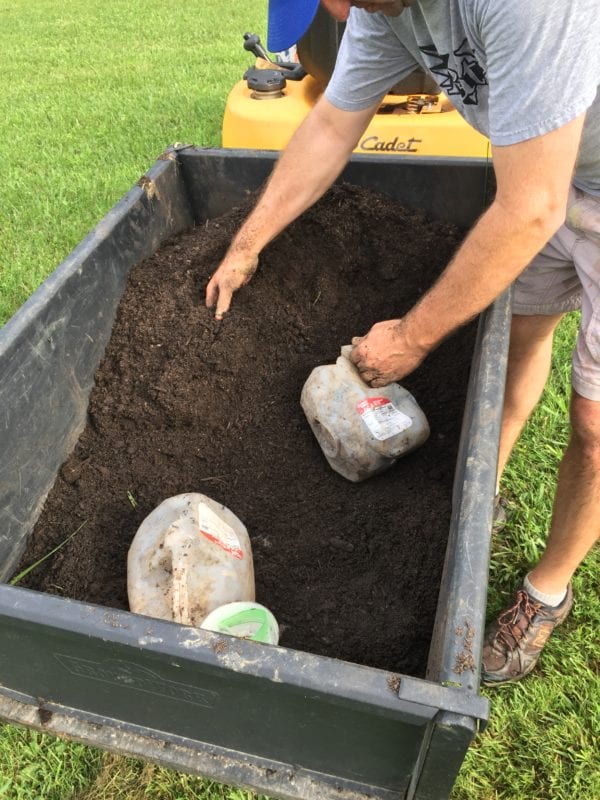
I grabbed an empty milk jug (having cut off the top so I could use it as a scoop) and filled it with fresh compost.
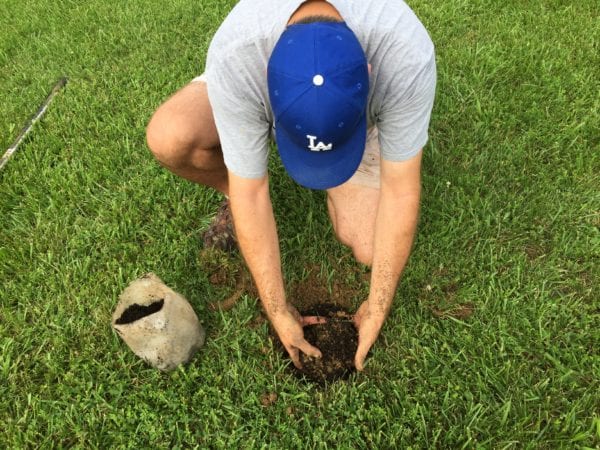
I sprinkled a handful of compost into the hole.
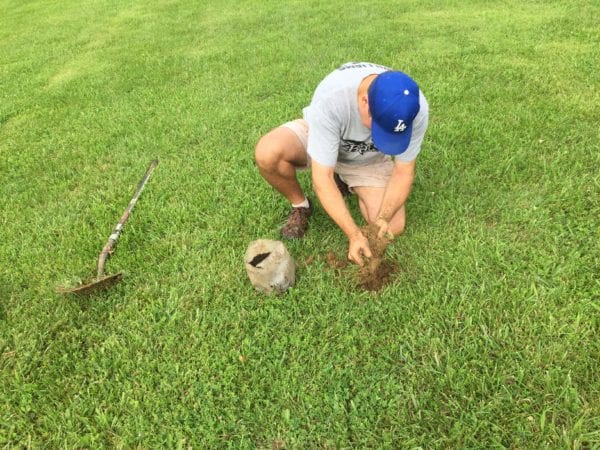
Then, I took the piece of sod and soil and working the sod to remove the soil that was attached.
Loosening the soil, I sprinkled it back into the hole. I then took more compost and worked the compost and soil together.
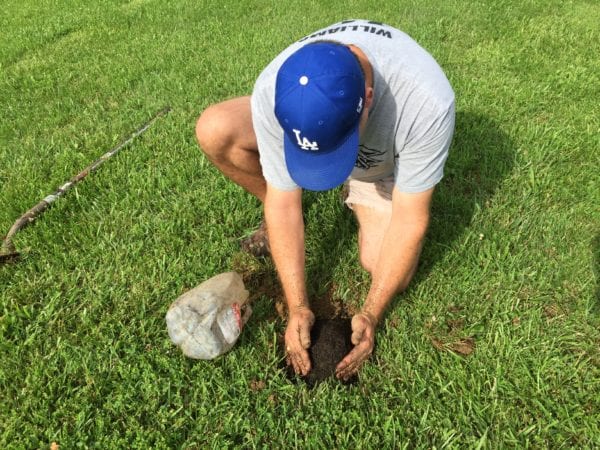
Atop this mixture I poured the rest of the compost from the milk carton and mounded it about the size of half of a basketball.
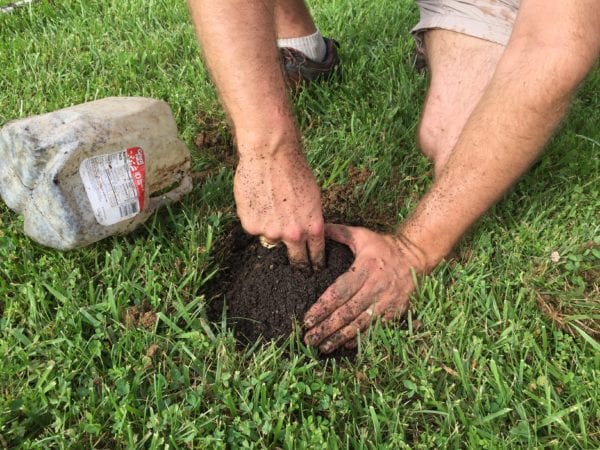
Using two fingers, I created a crater atop my mound (it resembled a science fair volcano).
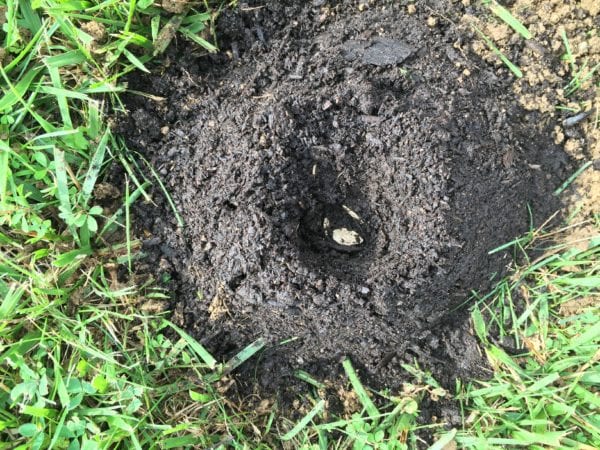
Inside the crater I set three pumpkin seeds on their long edge.
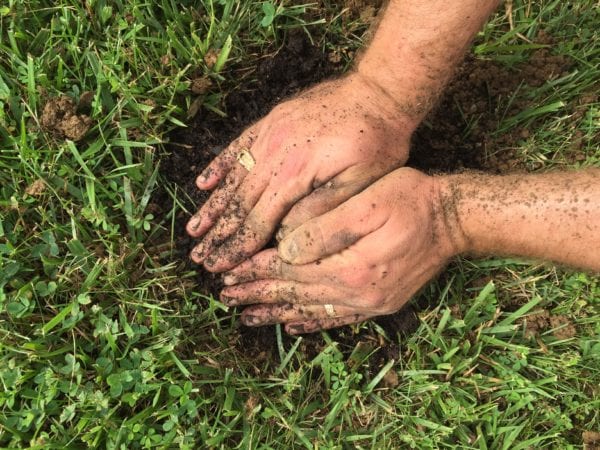
I closed the crater and patted down the mound.
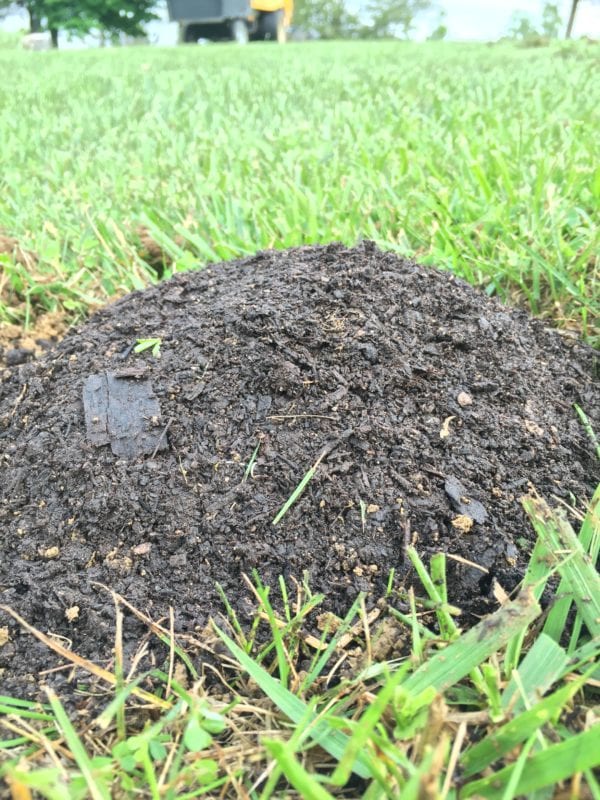
A freshly planted pumpkin mound.
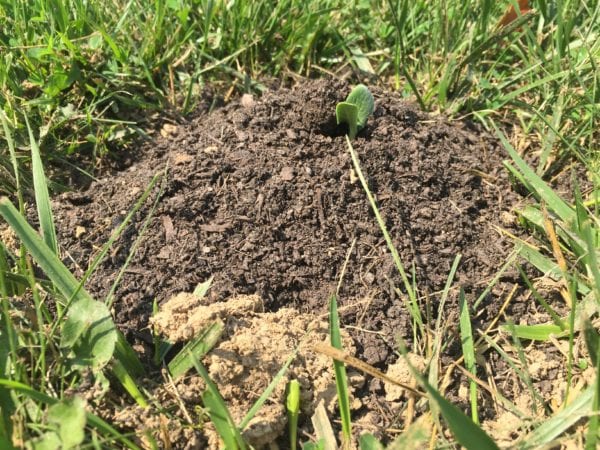
Just less than a week after planting, the seeds germinate and began to poke from the mounds.
We had a hot and humid first week and nearly all of the plants were growing.
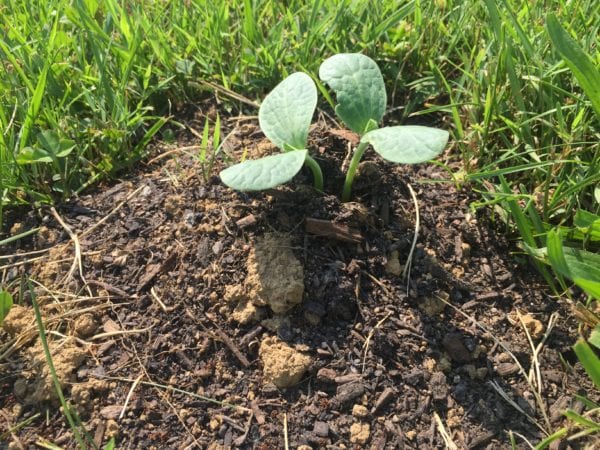
Three weeks after planting.
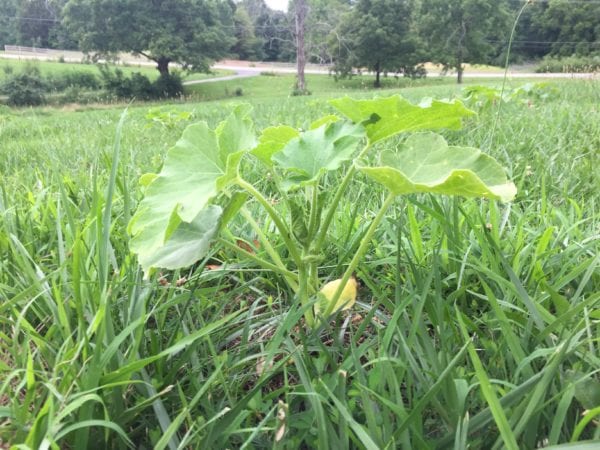
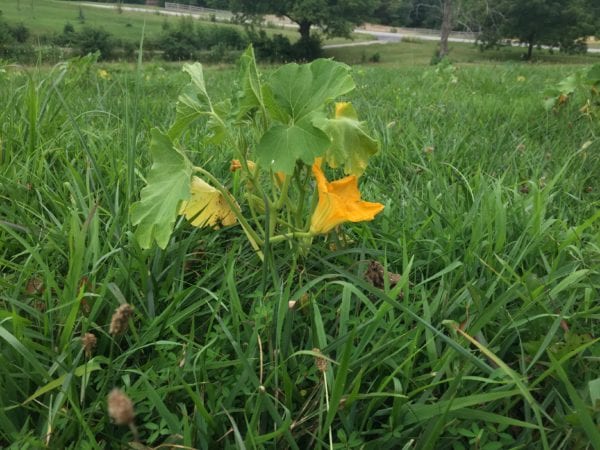
Four weeks after planting and some of the plants were showing signs of forming buds.
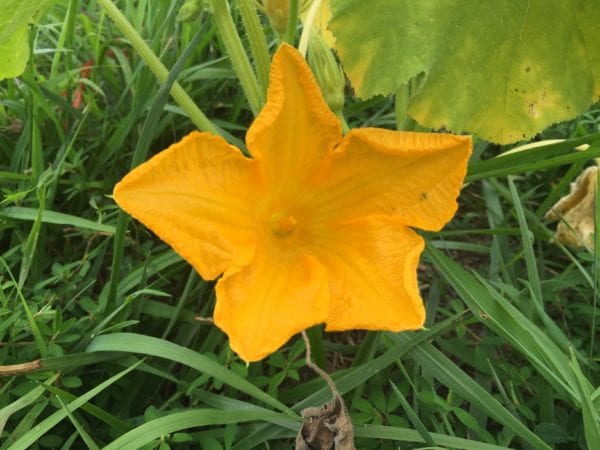
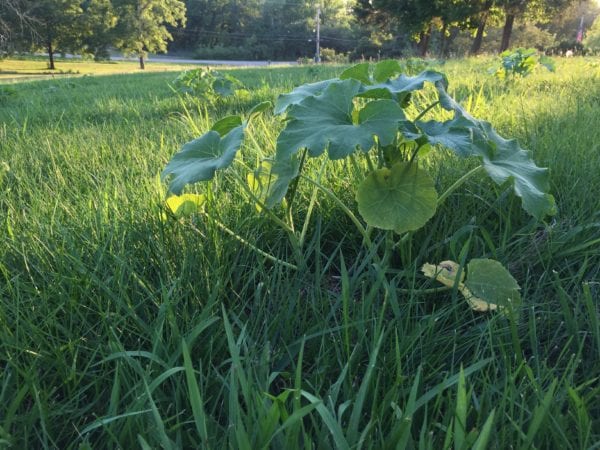
A nice big blossom at 5 weeks after planting.
At 5 weeks, most of the plants are just less than knee-high.