How to make mulberry jam
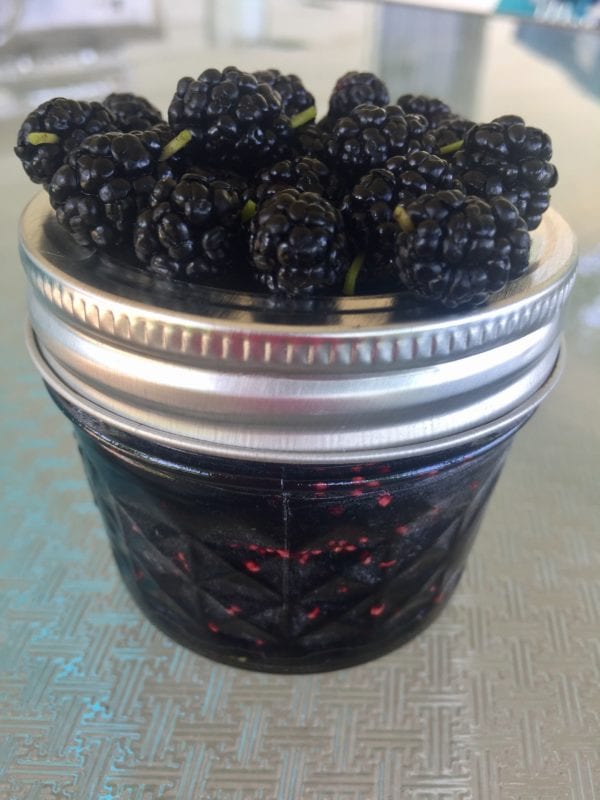
Fresh mulberries on top of a jar of mulberry jam.
Mulberry Jam
Our garden has taken a little bit of a backseat while the mulberry trees in our area are producing their tender, subtly sweet, red wine colored berries. There is nowhere to hide those bluish stains on chin and hands from nature’s delicious and natural dye…especially when denying that you’ve spoiled your supper. The berries are easily gathered in abundance when a tarp is laid under the tree and branches gently shaken. In fact, this is just the way we gathered our bounty to make mulberry jam. Even the smaller, dark berries can be used since there is no need to remove the stems for this jam.
The hope is to keep the kids busy gathering berries while jam is in the works. We go through many jars of jams and jellies for use on sandwiches, cake filling, toast and biscuits, and on top of ice-cream. We may have to hide some jars so we can have some in the cold months.
After picking, the fun begins.
After picking the mulberries, they will need to be soaked for a while and rinsed. Repeat that a few times. The bugs also know what a treat these berries are. In fact, I keep the bowl outside and start with the garden hose. Once it looks like the bugs have fled, the bowl will be brought inside where they will be rinsed again just to be sure. The jam is easy to make. Soaking, rinsing, and picking out the sticks, leaves, and unripened berries takes the longest. The unripened berries can make you sick- so just stick to the dark ones. Just be gentle with them though as they are tender.
Clean and ready? Let’s make some jam!
Clean and ready? Let’s make some jam! Use this small batch to try it out. It can be doubled to make 4 eight ounce jars. Jam recipes seem to work better if they aren’t big batches- so I don’t recommend doing more than doubling this recipe. Once you have 2 ½ cups of mulberries, you’ll need sugar and a little lemon juice. This was the first jam recipe where I didn’t use store-bought pectin. Lemon has natural pectin in it, and was cheaper. Once our apples come in, they provide natural pectin too. Stay tuned!
Ingredients:
2 ½ cups of fresh mulberries, stems removed
2 ¼ cups of sugar
2 Tablespoons of fresh lemon juice
Get your canning jars ready. Four 4 oz. jars does the trick. Wash them with warm soapy water. Wash your rings and new lids in warm, soapy water. You can then place your glass jars in a tall pot of warm water- heat to boil and simmer for about 15 minutes with the pot lid on.
* This process was easiest for me- but you can do the traditional water bath canning method. *
While you have your jars heating up, add all ingredients together in another heavy-duty pot. Use a wooden spoon (that you don’t mind getting stained), to mix and mash up the berries a little. Heat to boiling, then reduce heat to simmer for 15-20 minutes until the mixture becomes thicker. It will still be pourable. Just before your jam is done simmering and reducing, carefully remove your hot jars to a level surface, protected by a folded towel or hot pads. Pour hot jam into jars, one at a time, placing lid and ring on snugly before moving to the next jar. Super hot- be cautious. Tip each jar upside down for about 15 minutes. Tip right side up after that and then wait 8 hours before opening- or store some up for the winter. The “ping” sound is like music to a canner’s ears- meaning a jar has properly sealed. Sometimes it takes a while. The little bump in the center of the lid will flatten when sealed. If you do have any jars that do not properly seal- those will have to be refrigerated and used soon. Enjoy this sweet taste of early summer!
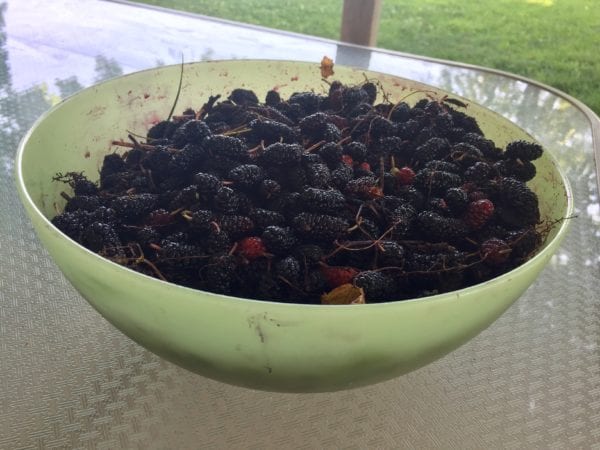
Mulberries just shaken from the tree.
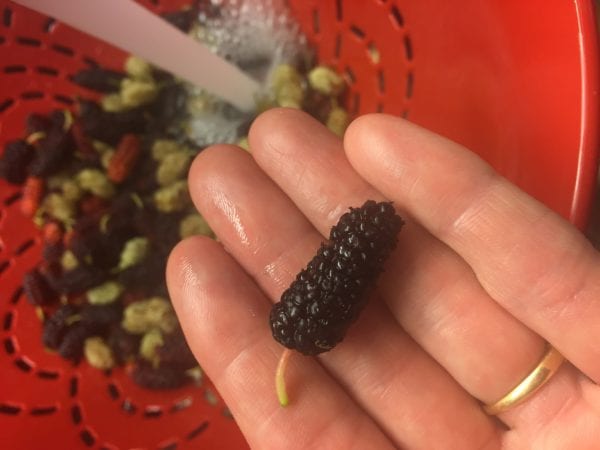
Rinsing freshly picked mulberries.
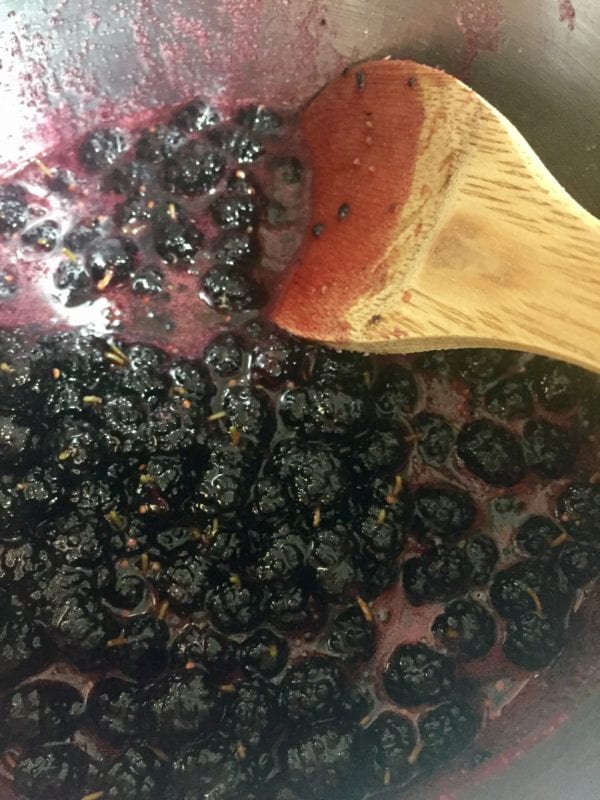
Cooking the mulberry jam mixture.
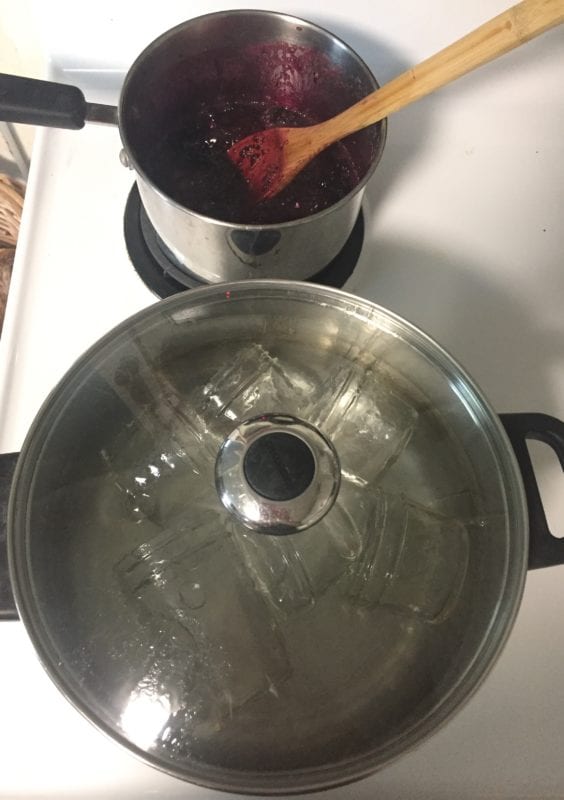
Cooking the mulberry jam while heating and sterilizing canning jars.
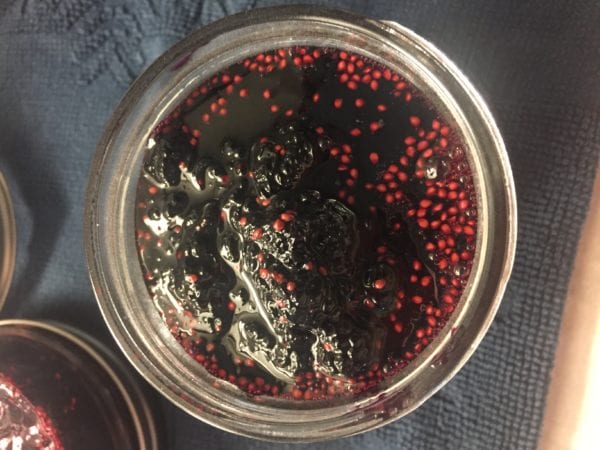
Filling hot jam into the jars.
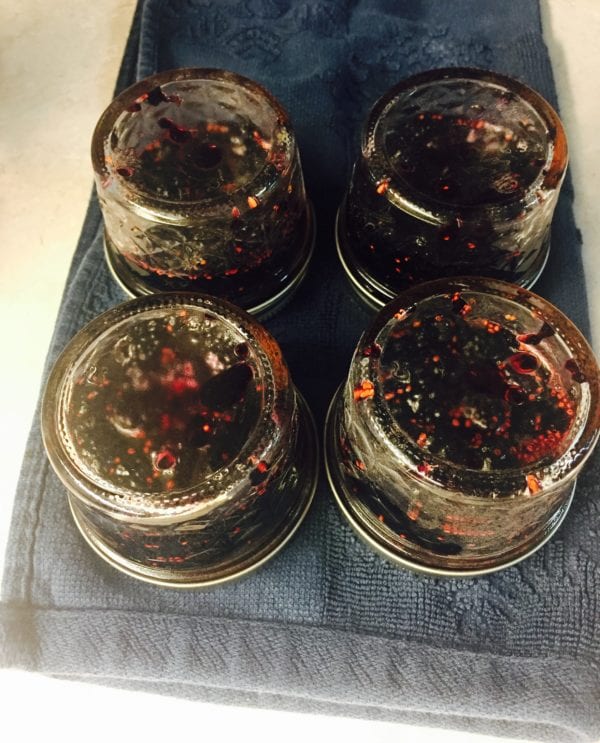
Jars tipped upside down to prepare sealing.
A finished jar of mulberry jam.
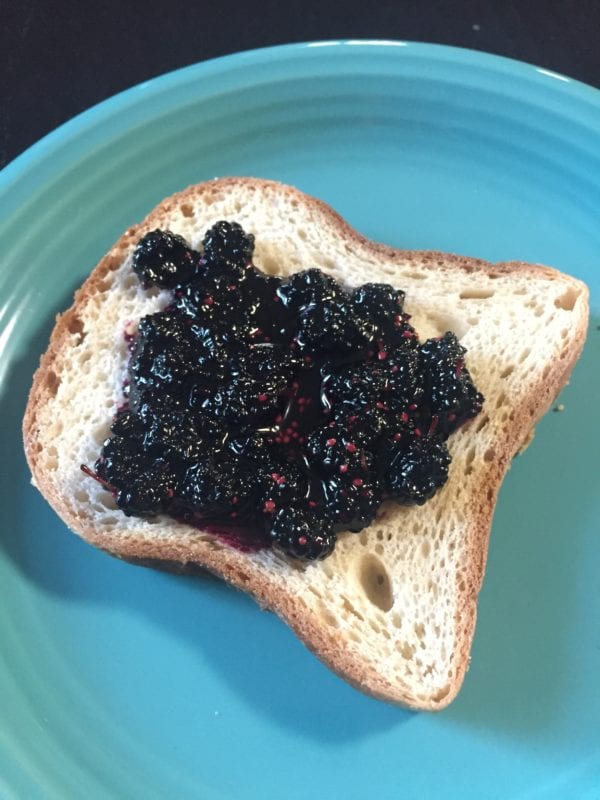
Enjoy your jam!
.